An Engineer’s Guide to Egg Decorating
In hindsight, we feel like we might have created a monster when we decided to publish our last engineering piece from the infamous (and as of yet identified Mr. X) regarding the art of present wrapping. At this point, we feel that the level of publicity he’s been given is somewhere akin to the LA Times’ decision to publish the Zodiac letters.
Yet, there is something particularly earnest about the ramblings of Mr. X. We’ve decided, among ourselves, to continue giving him a voice as long as that voice remains helpful (albeit abrasive). However, and we write this here for you to read, Mr. X, the minute you start sending us complicated ciphers, we’re calling off this already tenuous relationship.
Without any further suspense, we give you an engineer’s guide to egg decorating, compliments of our favorite anonymous engineer.
The Artistic Traditions of Zoroastrianism
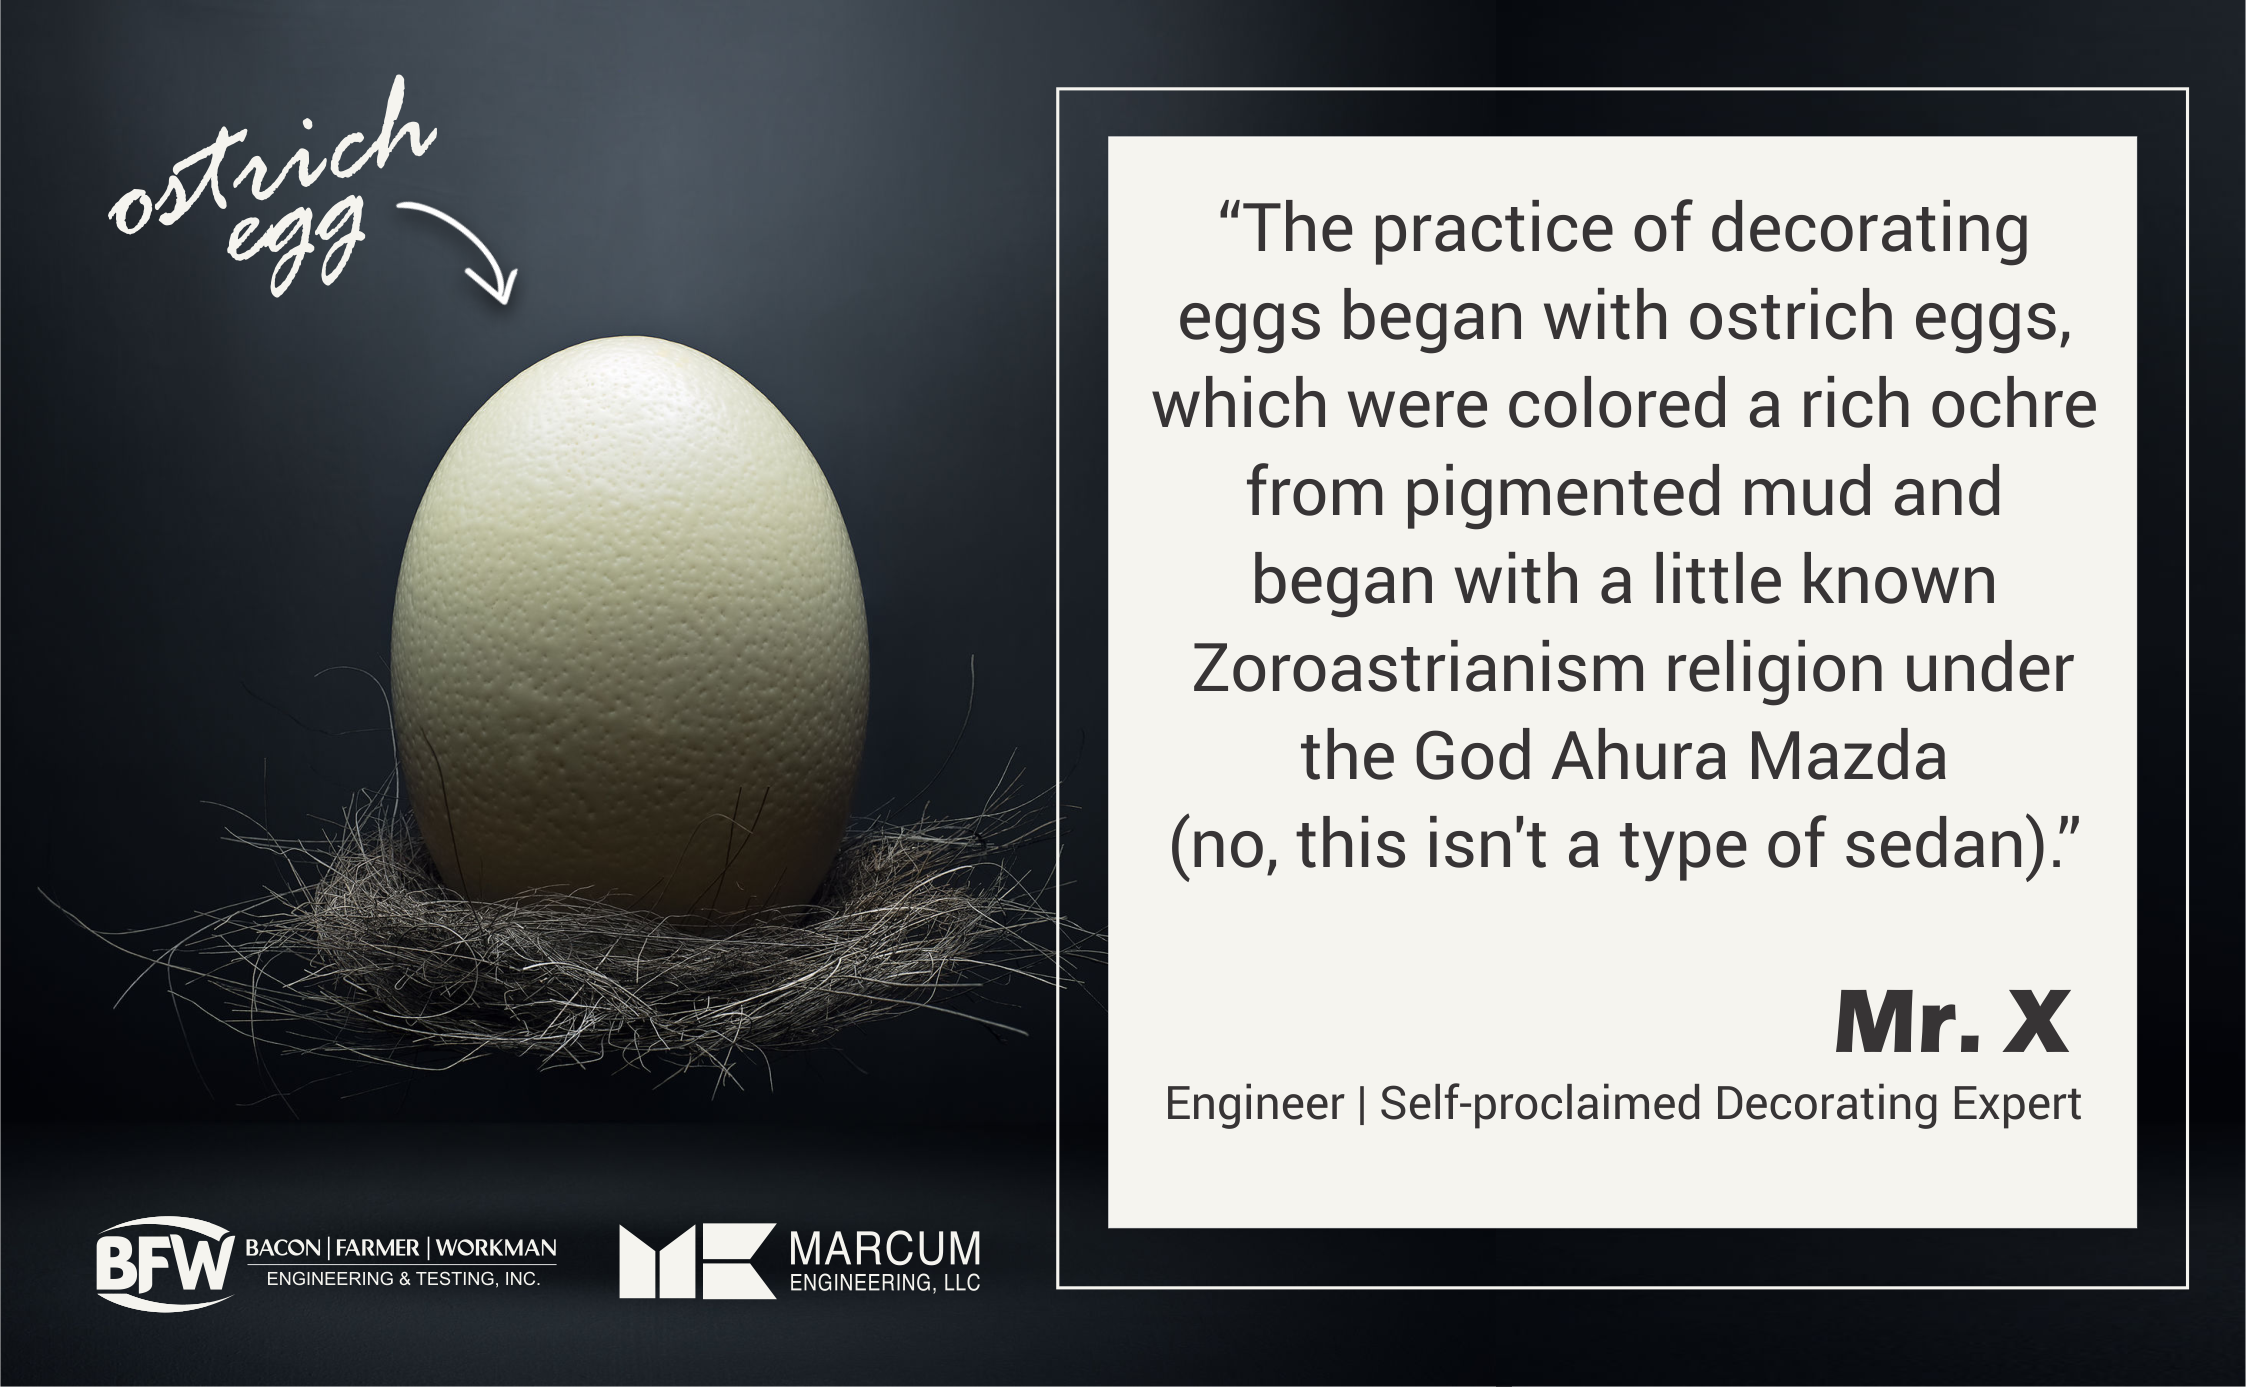
Dear readers, I hope you consider when you break out your white vinegar and rip open your box full of disposable egg decorating accouterments, that you are doing so under the guidance of the ancient, winged, and bearded God Ahura Mazda (no, this isn’t a type of sedan) from the relatively little-known Zoroastrianism religion that bubbled out of modern-day Iran some 2,000 years B.C.

The practice started with ostrich eggs, which were colored a rich ochre from pigmented mud. Fragments of these eggs have been unsurfaced at archeological dig sites, betraying a basic truth that many of us already know; coloring eggs has always been a good way to spend a rainy afternoon in the springtime.
Yet, let’s be honest with ourselves. Much of what we do in celebration of any holiday was once considered a ritual; from the Christmas tree that stands, glittering and proud, in our living room, to carved and/or painted gourd that we keep alight on our porches on All Hallows Eve. Today, we care much less about why we do these things. Instead, we focus on the activity itself and derive fun from the actions themselves and less on their actual meaning. It’s completely human to distill the rich and storied traditions of your forefathers into something you can buy while you wait in line at the grocery store.
Pysanka, or Ukrainian Eggs
I will always remember the first time I laid eyes on the tradition of Pysanka, otherwise known as the “Ukrainian Egg”. I was in 4th grade and it was time for show-and-tell. Jennifer Morris stood from her desk with this smug look on her face that told the rest of us what she had to show was going to make the rest of us ashamed to bring our specimens up to the front of the classroom.
Then, she opened her hand, revealing a spectacularly colored egg, which was decorated vibrantly in the fashion of stained glass. She proceeded to explain its origins; it was known as a Ukrainian Egg. It was designed by “inscribing” its surface with beeswax, which was applied with a specialized pen. Where the wax was applied, no dye would adhere, allowing you to create endless geometric patterns of negative space amid a sea of intricate color.
To me, these will always be the gold standard in egg decorating. However, unless you have decades to dedicate to the East European tradition, I’d suggest you stick to the vinegar-and-dye method, as much as it pales in comparison to the real thing.
How to Decorate an Egg
Now that I’ve tantalized you with the traditions and arts of egg decorating found around the world, let’s dial it back a bit and start talking about something you can accomplish with your 5-year-old screaming in your face.
While it’s true that I have no children other than my aforementioned Guinea Pig, Archimedes (who is doing fine, despite his limited mobility due to the ongoing pandemic; we’ve tried getting him the vaccine but so far no hospital will take my call), I do find a sense of solace in the simple art of vinegar-and-dye egg decorating. It reminds me of those rainy day afternoons spent indoors with my mother; bless her heart.
Step 1: Buy Some Eggs
I know we’ve discussed this previously in my banana bread recipe but I must suggest that you buy a good quality egg for this operation. Will you probably throw away your eggs once they’ve sat in a bowl for 2 weeks in anticipation of the Easter holiday? Yes, unless you enjoy a good bout of Salmonella. However, the cheaper your eggs are, the sadder those chickens’ lives are. I always recommend free-range eggs, even if it costs you more.
Step 2: Skip the Kit
I can’t tell you how to spend your money. However, ask yourself how much of a premium you put on plain white vinegar, food coloring, and hot water. With that in mind, do you think you need to buy yourself a fancy kit to decorate eggs?
Step 3: Hard Boil Your Eggs
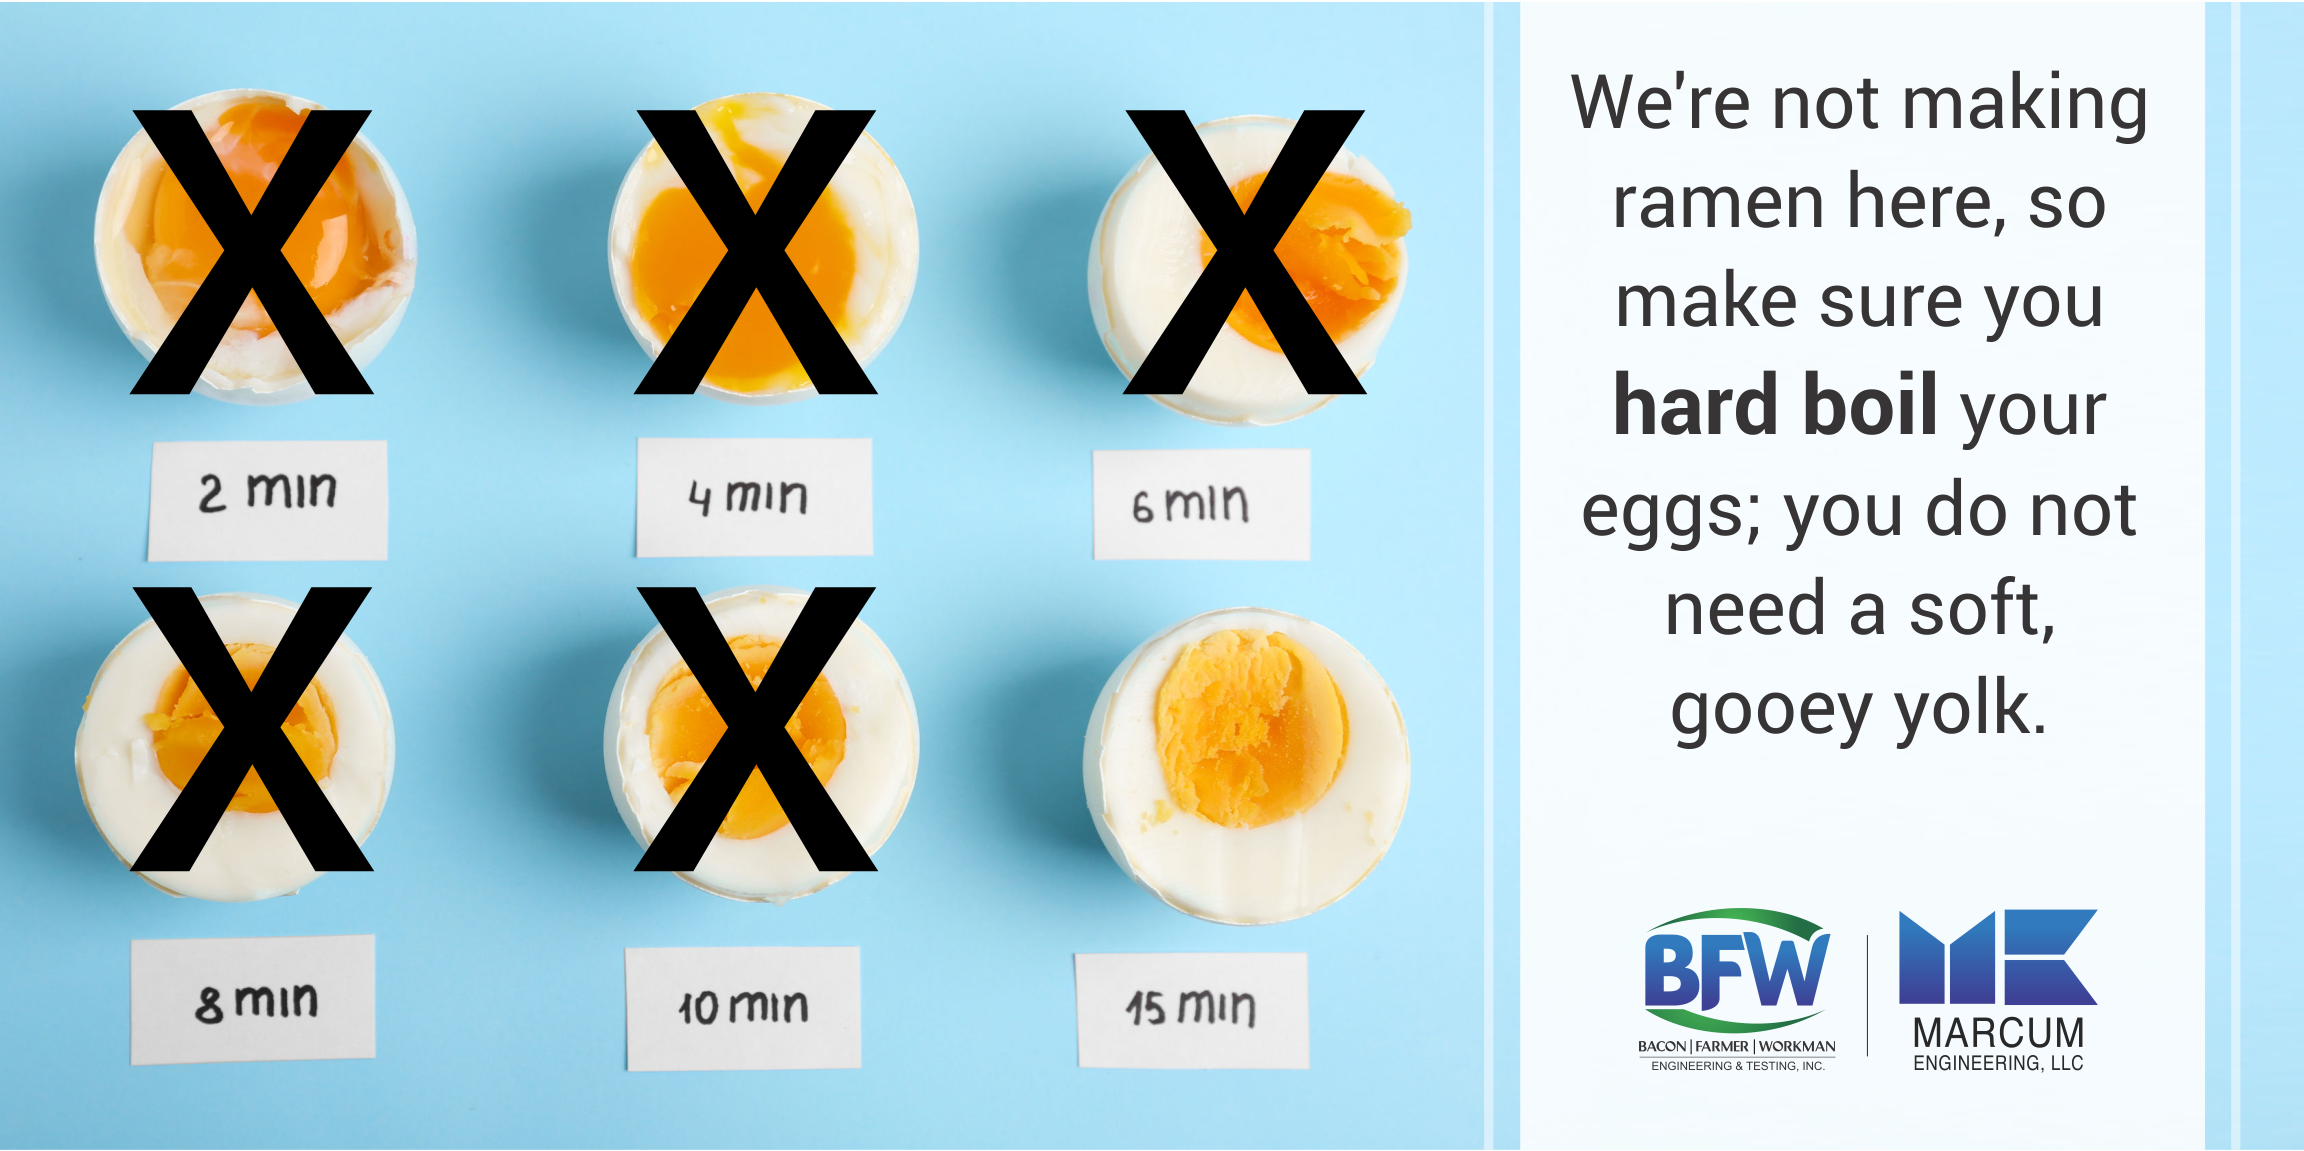
You’re decorating eggs that are going to sit out in the open air for some time. We’re not making ramen here, so make sure you hard boil your eggs; you do not need a soft, gooey yolk. The harder you cook your eggs, the longer they will keep.

The easiest method for boiling an egg that I’ve come across is to put your eggs into a pot with cold water. Bring the eggs to a boil and as soon as they boil, turn off the heat and cover the pot. Allow the eggs to stand in the hot water for 12 minutes. From there, drain the water and replace it with cold tap water and ice. Allow the eggs to cool for 10 minutes. This method uses only 1 pot; it’s simple.
Want a nice, hard-boiled egg for lunch? Follow this method but reduce the steep time to 9 minutes. Et voila.
Step 4: Prepare Your Dyes
While your eggs cool in their ice bath go ahead and prepare your dye. Mix ½ cup of boiled water with 1 teaspoon of white vinegar and 20 drops of dye. Do not be afraid to heavily dye your water—you want the dye to stand out on your eggs and you can control the intensity of color by controlling the time in which your eggs are dipped into the dye.
Put your various dyes in tall, heat-proof glasses that you can comfortably dip your eggs into. Ensure you have at least half of each container empty. My guinea pig will be the first to remind you of Archimedes’ physical law of buoyancy. As you dip your egg you will also displace the liquid, driving it upward and ultimately out of its vessel should you not leave enough room.
Step 5: Get Dipping
I am giving these instructions with the assumption that you will be doing this with the participation of a child. Thus far, I am the only grown man I’ve met that enjoys the solo art of egg decorating.
Along these lines, I would suggest you keep your designs simple for the sake of your children’s as-yet undeveloped fine motor skills. Trying to dip your whole egg (one half at a time) into a dye and experiment with timing; shorter dips (about 5 minutes) will give you the pastel tones of springtime. A longer dip (longer than 5 minutes) will give you something more intense.
You can also do half-and-half color, or even experiment with painter’s tape to create elaborate bands of color. Your imagination is the only limiting factor in this process. If the eggs are still warm to the touch you can even begin decorating them with crayons (the wax will melt slightly, adhering to the shell). Where the wax is applied, no dye will adhere, allowing you to create a kind of tie-dye pattern.
Don’t Be Afraid to Break Rules
Whether you’re a still-practicing Zoroastrianist trying to tune into the ancient frequencies of your all-knowing bird God or simply can’t think of anything better to do in the days preceding Easter Sunday, I give you the engineer’s perspective to the process; that is, the process of doing anything.

Understand the rules. Truly understand them; answer the why, what, and how of the process. Once you get that under your belt, break the rules with unmitigated glee. That’s surely where the Ukrainian egg found its origins; from a thing you ate to a thing you placed on your mantle in reverence and passed down for generations.
So, once you’ve tackled the laws of thermodynamics and wrap your head around buoyancy (and taught your kids these basic laws of nature in the process), break out the crayons, get crazy with the colors, and celebrate human ingenuity and experimentation.

Recent Comments